I've been making lots of these lately. They're a fun project and great gift. It can be personalized to your receiver's most favorite things!
Here's the simple instructions (I hope!!!).
Get 3 coordinating fabrics.

Cut them into 3 pieces: the main piece being 45"x27", the edge piece being 45"x9" and the little trim piece being 45"x2".

Iron the 2" strip in half.

Lay the 9" piece on the table you're working on.

Lay the main piece on top, lining the edges up as best you can.
Next, lay the 2" piece on top of those two pieces-- the raw edges on the top. I pin these all together with about 8 pins spaced apart.

Next is the tricky part to explain. You will take the main piece and roll it up to just about the top. The bottom piece (the 9" piece) will start to be uncovered. Carefully take the 9" piece and bring that around and on top of the 2" strip. Pin these all together very well. Be careful NOT to pin any of the main fabric (the roll) in the edge

.

Sew this long strip together. (a 5/8" seam is good)


Turn this inside out.

I lay it down, right sides out, line it up and trim the edges even.
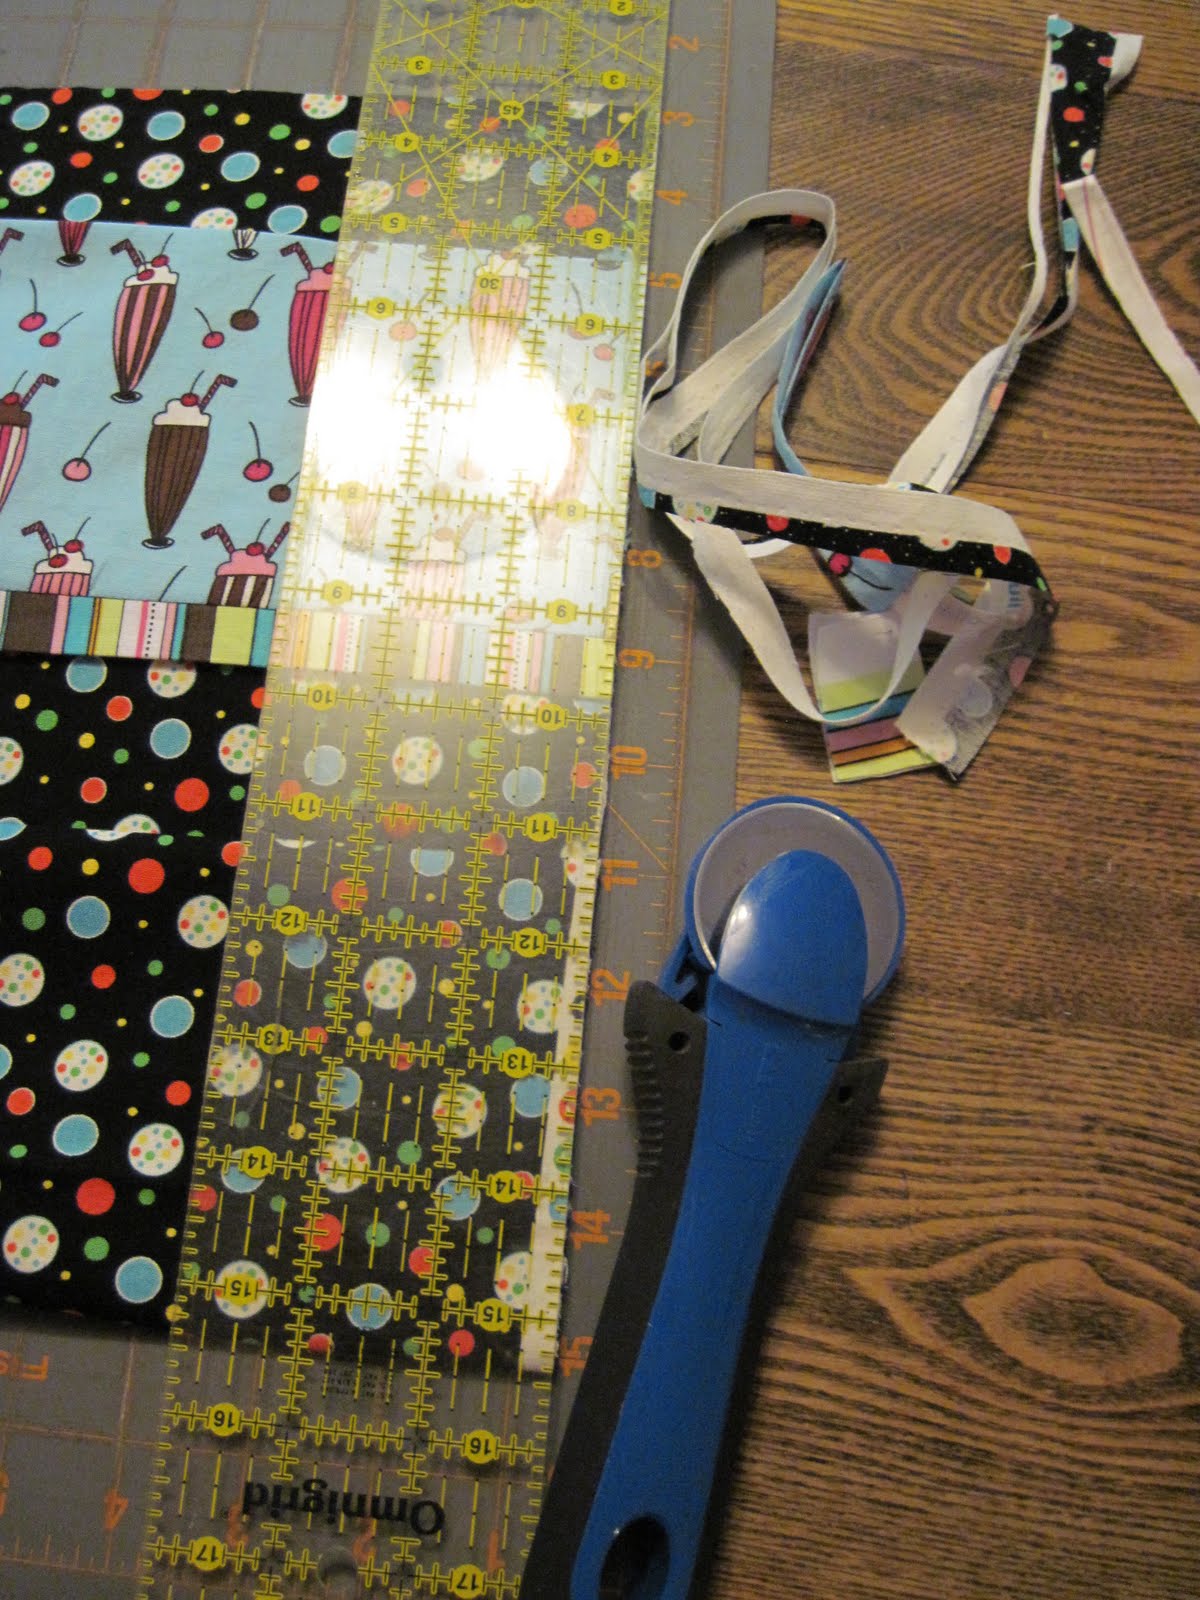
I sew all the seems with a French seam. This makes it so the edges don't fray and it looks neat. You will sew the edges on the long side with right sides facing OUT. I sew them rather close to the edge. The edge of my presserfoot is lined to the edge of the fabric.

Turn that inside out and press the seam you just sewed. Now sew that, with it inside out and with a 5/8" seam.


Do the same process (the French seam)on the bottom edge of the pillowcase. If you prefer not to do the French seam, just sew the edges with a 5/8" seam, with it inside out.

Viola! You have a snazzy pillowcase to lay your head on!!!
No comments:
Post a Comment